
Running a restaurant with a printed menu, paper tickets and zero sales data isn't just inconvenient anymore — it costs you money every week. Every time a customer can't find your menu on Google, every mis-written ticket that comes back from the kitchen, and every price that takes you a day to update adds up to real losses. The good news: digitizing your restaurant doesn't require an IT technician, buying new hardware, or a big budget. In 2026 you can get started in under 30 minutes with what you already have.
This guide walks through every step in a practical way: from publishing your first digital menu to reading your first sales reports.
Why digitize your restaurant now?
Today's diner scans the QR code before sitting down, expects to order without flagging down a server, and shares photos of the menu on WhatsApp with friends. If your menu is a laminated flyer with crossed-out prices, that image has a cost — and it shows up in the decision to come back or not.
But digitization isn't just image: it's operations. A restaurant that runs digitally cuts ticket errors, speeds up how fast dishes go out, and generates real data to make decisions — without guessing which dish was the star of the weekend.
Want to understand first what having a digital menu involves? Read our guide on what a digital menu is and how it works.
Step 1: Publish your digital menu (no hardware)
The first step and the fastest. A professional QR menu lets you change prices in seconds from your phone, add photos to every dish, and generate a QR code per table so each customer can access it instantly from their own phone — without downloading any app.
What this step includes, with no usage cap:
- Edit dishes, prices and categories as many times as you want.
- Choose from 18 templates by restaurant type — café, taco joint, seafood, fine dining and more.
- Upload your current menu as a PDF or photo and let artificial intelligence read the names, prices and categories for you.
- Share the menu via WhatsApp or Instagram, or print the QR in high resolution for your tables.
You don't need to buy any equipment. The menu runs on the diner's phone. The full setup —from signing up to having the QR ready— takes under 30 minutes. Explore the templates in the QR menu catalog.
Step 2: Turn on ordering right from the table (0% commission)
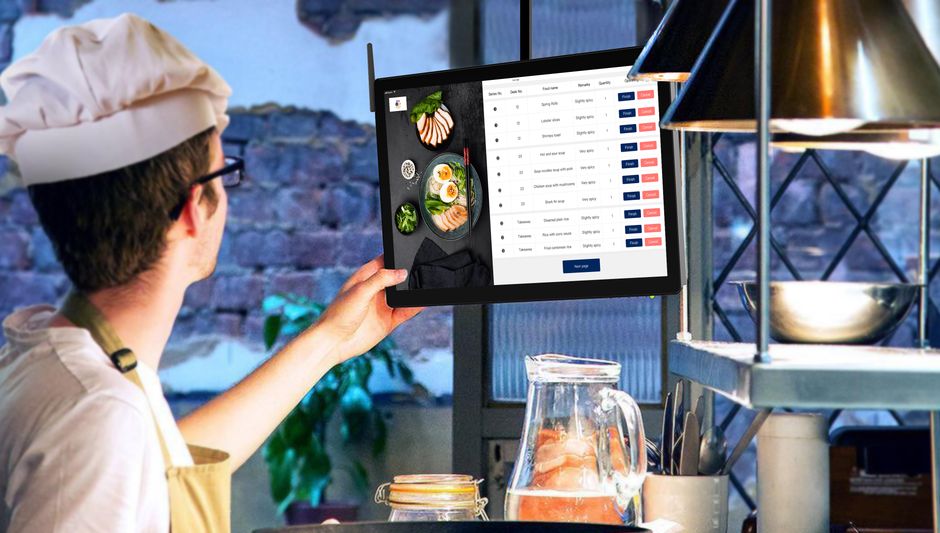
With the menu published, the next step is for the customer to order directly from their phone while seated. The order reaches the kitchen display instantly, without the server having to relay the message. No mix-ups, no back-and-forth trips.
Rankea's model works like this:
- Included in the plan, with no cap: the 14-day trial, with no card, lets you see it working in your real restaurant before paying.
- Unlimited orders, 0% commission: available on the plan ($699 MXN/month, no contract).
Two weeks are enough for several full shifts and to decide with firsthand information. The same plan also unlocks the unlimited kitchen display, unlimited reservations, and unlimited table ordering.
Step 3: Organize the kitchen with a digital display
How many times has a ticket gone missing or a dish come out incomplete? The kitchen display shows every order with its status — new, in progress, ready — and how long it's been waiting since it arrived. Your team knows at all times what needs to go out and in what order.
You don't need to install anything special: it runs from any screen with a browser. An old iPad, a low-end tablet, or a TV with Chromecast are enough. Zero specialized hardware.
Step 4: Manage reservations without phone calls
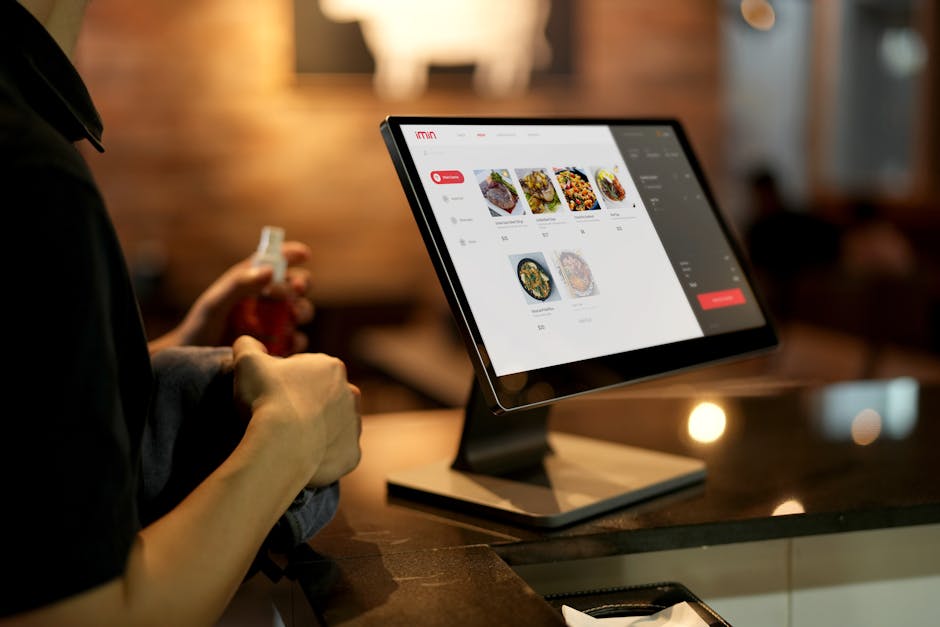
If your restaurant takes reservations, every call costs your staff time and creates notes that get lost. With digital reservations, the customer picks the date, time and party size right from the QR menu. You see occupancy in real time and cut no-shows because the customer has their confirmation instantly.
Like orders, reservations have no cap: they come in the plan and you try them in the 14 free days.
Step 5: Read your data — what sells, when and how much
You now have menu, orders and kitchen running digitally. Now comes the most valuable part: the reports. Knowing which dishes sell most (and at what time) lets you adjust the menu, prep the right ingredients, and better distribute your team during demand peaks.
The plan includes the full analytics: menu visits and most-viewed dishes, plus reports on revenue by period, average ticket and hour-by-hour trends. To learn which features to evaluate in a complete system, check the guide on how to choose restaurant software.
Digitization checklist for your restaurant
- ☑ Digital menu published and accessible via QR from every table
- ☑ Prices updated in under 5 minutes (without printing anything)
- ☑ Dishes with photos so the customer knows what they're ordering
- ☑ Orders reaching the kitchen display (tested on a real shift)
- ☑ At least one report reviewed this week (top dish + peak hour)
- ☑ Reservations active, if it applies to your service format
If you checked every box, your restaurant already operates digitally. If you're missing one, you know exactly where to start.
How much does it cost to digitize a restaurant with Rankea?
More affordable than you'd think, with a real option to start without spending anything:
- Included in the plan, with no cap: professional QR menu, 18 templates, edit prices and items as many times as you want, AI that builds your menu from a PDF or photo, 1 location and basic analytics. No hardware, setup in 5 minutes.
- Included in the plan, with no cap per module: direct orders, table ordering, kitchen display and reservations.
- The plan ($699 MXN/month, no contract): the four modules above with no limit + advanced analytics + priority support. Additional locations: $699 MXN/month each.
Want to compare market options before deciding? Also read restaurant software with no monthly fee: why almost nobody really offers it.
To see how your menu will look starting today, head to Rankea and try it for 14 days.


